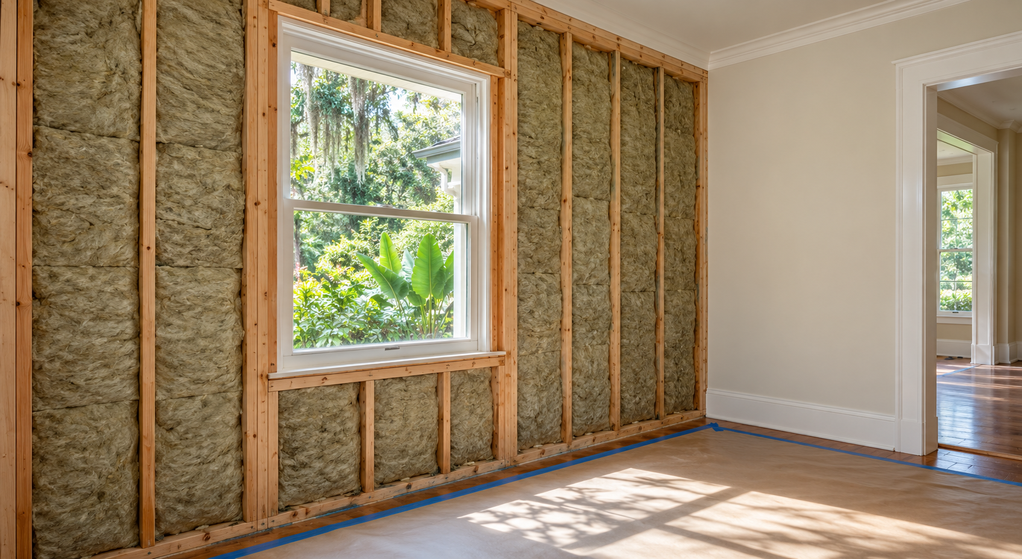
Shower Waterproofing vs. Tile and Grout: What Actually Protects the Walls?
Summary
Tile and grout provide a durable shower finish, but they do not make the wall assembly waterproof. Protection depends on a properly connected water-management assembly beneath the finish. Understanding that distinction helps homeowners evaluate remodeling proposals, recognize when surface repairs are insufficient, and ask better questions before walls are covered.
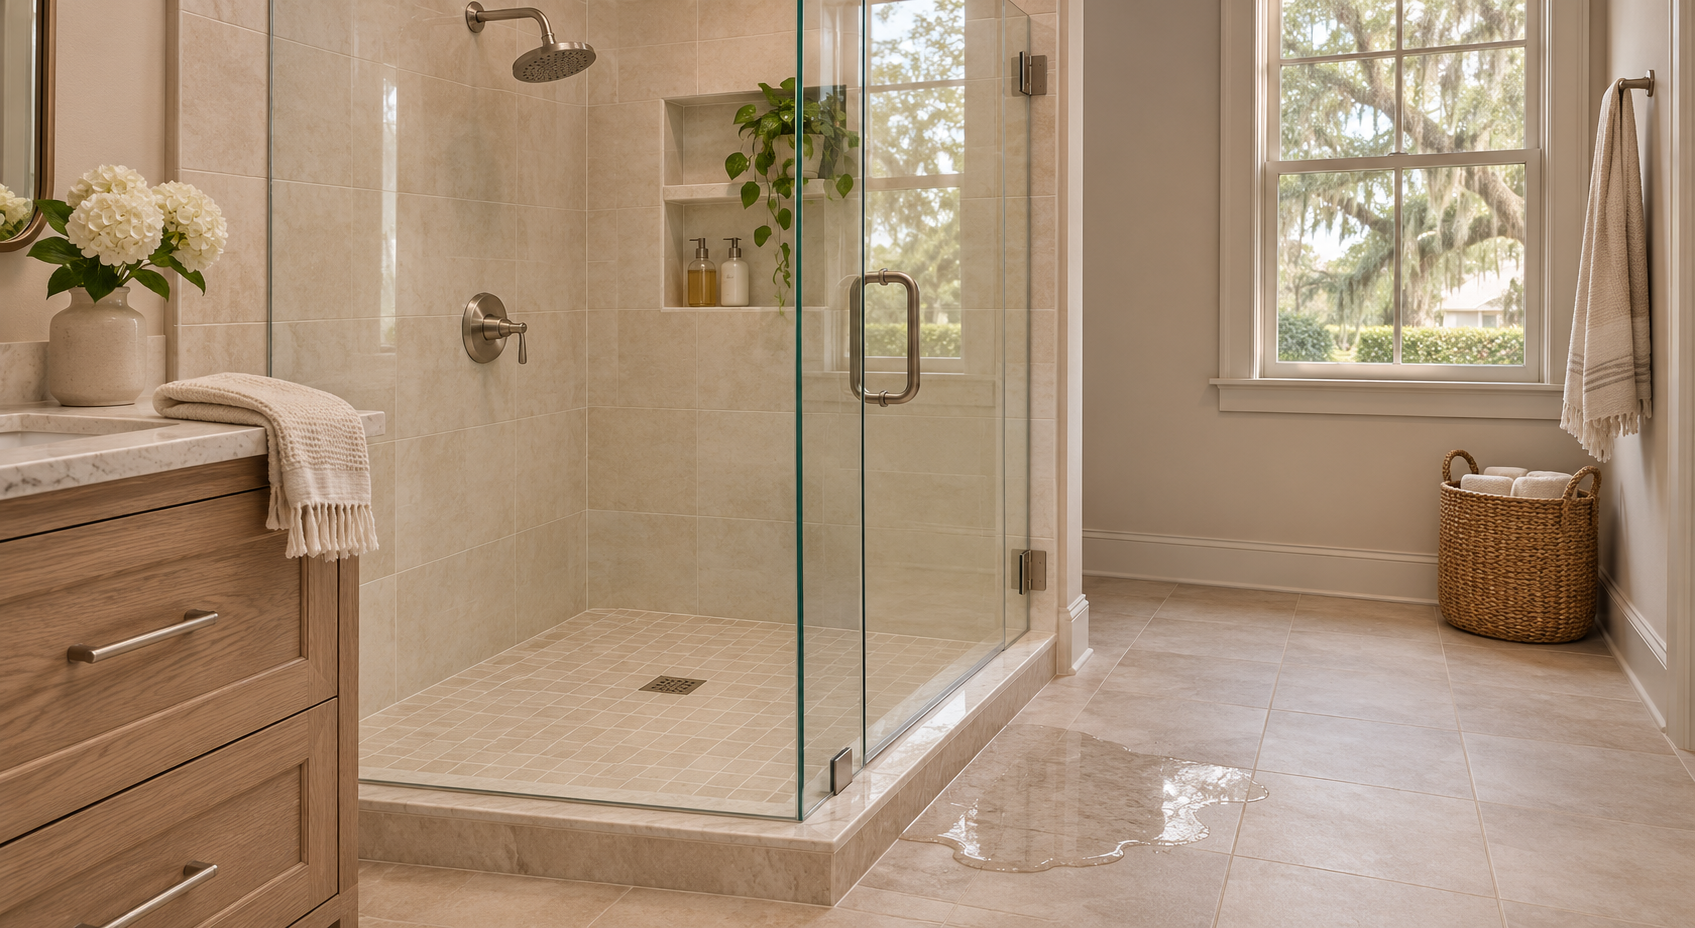
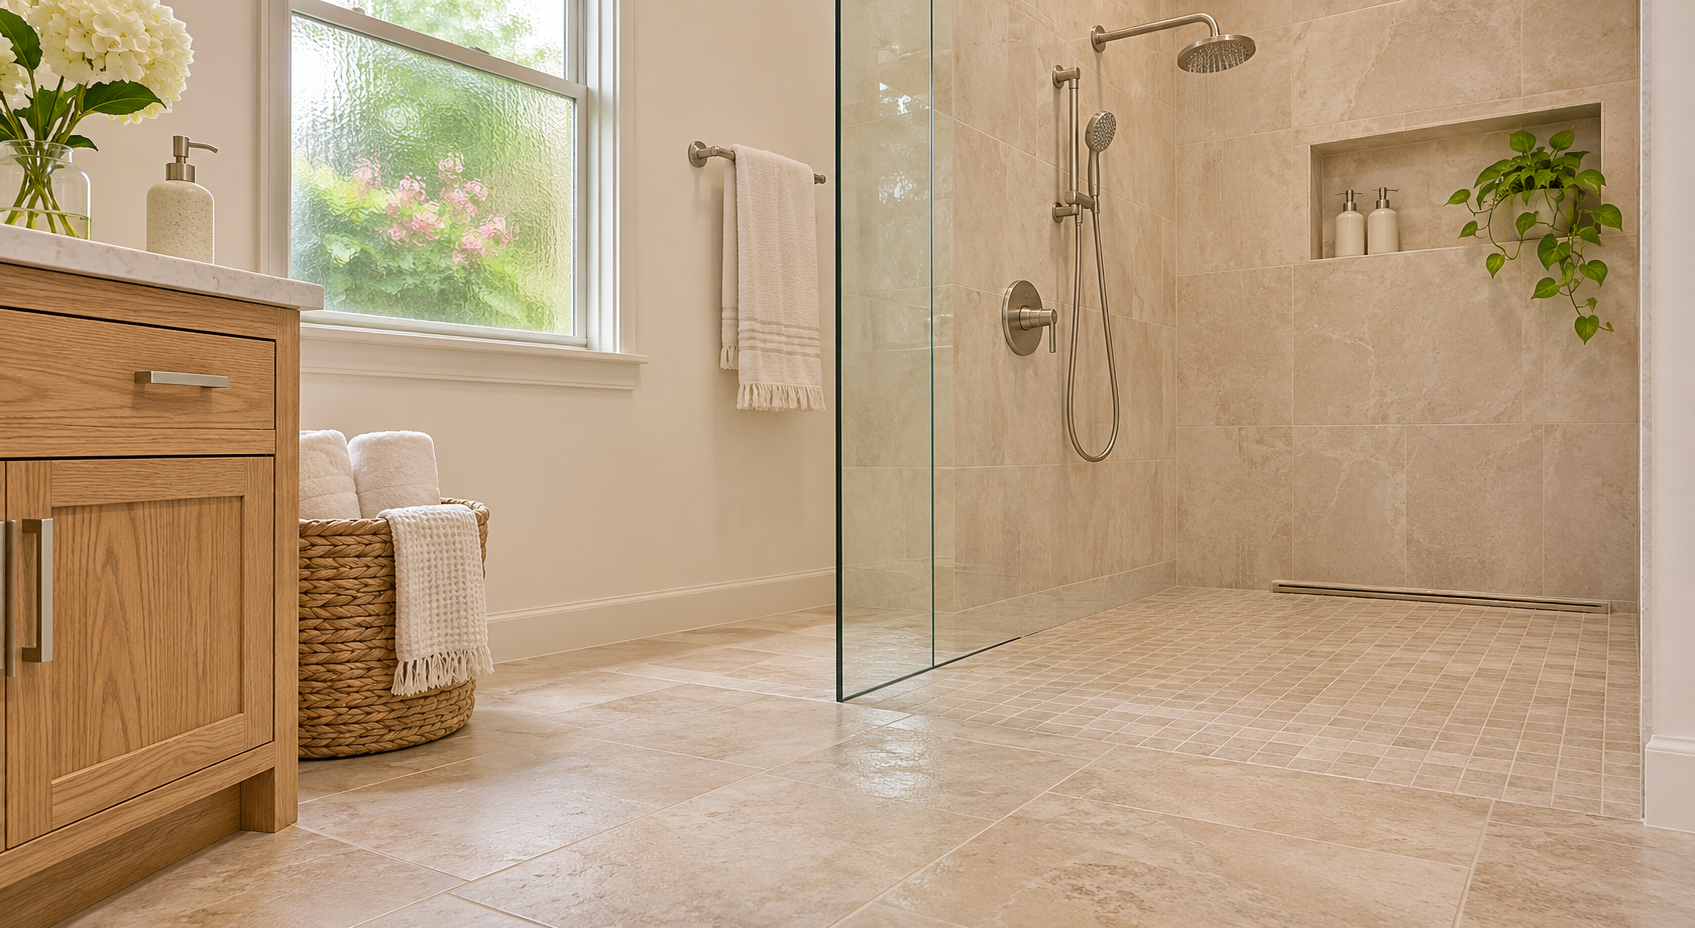
A shower can look finished while an important part of its construction remains incomplete. Straight grout lines, attractive porcelain, and neatly installed fixtures reveal little about the concealed protection around corners, plumbing openings, or the shower base.
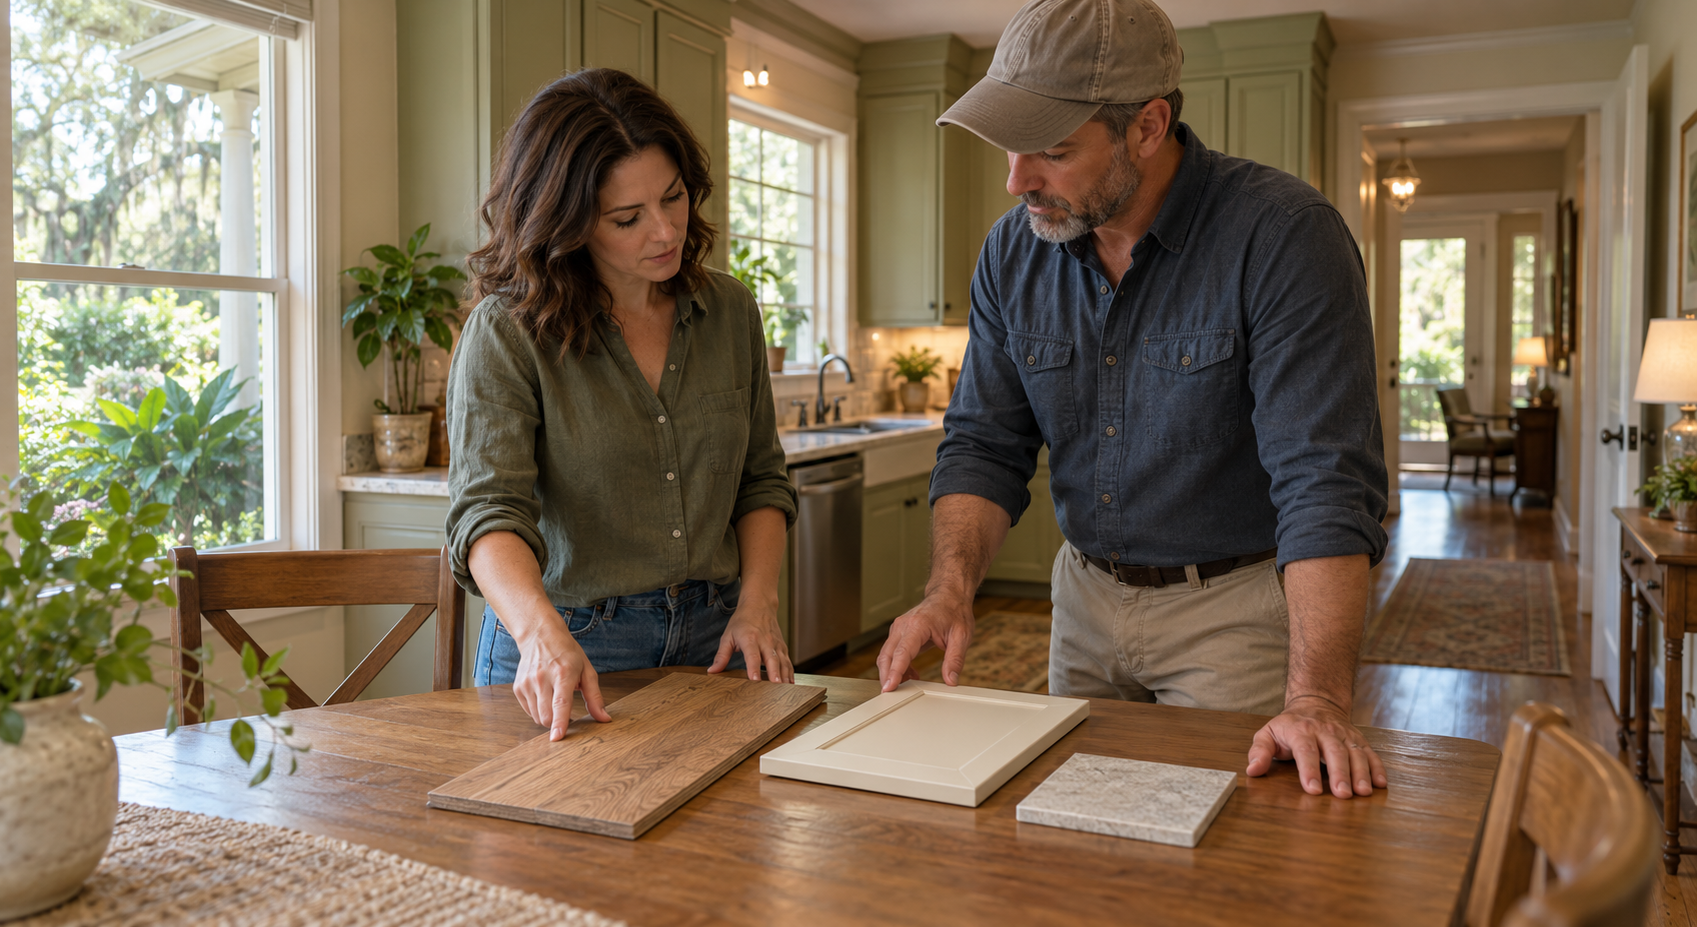
When comparing bathroom remodeling services in Lafayette, Louisiana, ask what the proposed shower assembly includes beneath its finish. A description such as “new tile shower” leaves too much unresolved.
Home Remodeling Pros Lafayette LA provides bathroom renovation services in Lafayette and surrounding communities. A useful shower scope separates the visible finish from the backing, waterproofing, and connections beneath it.
Two companion guides help frame the proposal: common bathroom remodel mistakes in Lafayette discusses room-level planning, including ventilation, while avoiding surprise costs during a remodel in Lafayette addresses scope and change approvals. Neither establishes whether the concealed shower assembly is watertight.
What Each Layer Actually Does
Tile provides the washable wearing surface. Grout fills the spaces between tiles. Cement-based grout can absorb moisture, and grout sealer primarily helps with stain resistance and maintenance. Neither sealer nor a change to epoxy grout substitutes for a complete waterproofing assembly.
Backer board supports the tile installation. Some boards tolerate moisture without deteriorating, but that does not mean the board, its joints, and its fastener holes form a waterproof enclosure. Waterproof building panels also require their specified joint and penetration treatments.
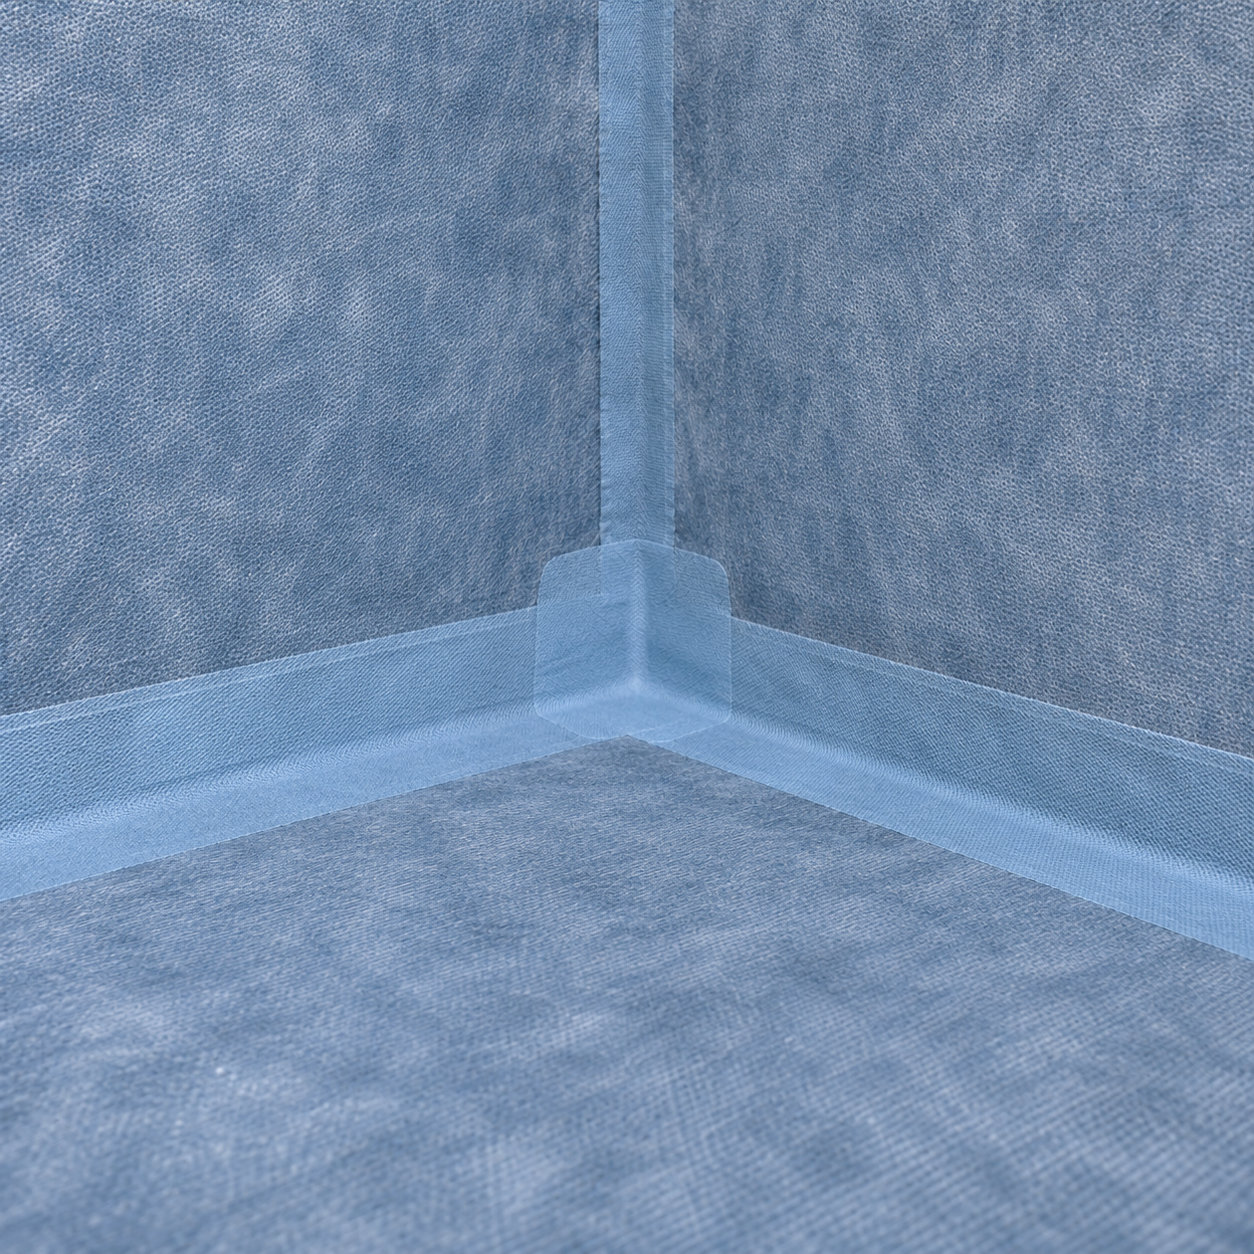
Follow the Waterproofing to the Shower Base
The protective layer must connect across the enclosure. In a surface-applied system, the waterproofing sits immediately behind the tile. A traditional assembly can instead manage moisture behind the wall backing and direct it into a properly constructed shower pan.
The Schluter Shower System Installation Handbook contrasts traditional assemblies with bonded waterproofing and explains why tile coverings alone do not protect moisture-sensitive materials. Its detailed product instructions apply to the named Schluter systems. Other systems need their own compatible components and instructions.
Pay particular attention to transitions:
- Wall-to-base connections: Wall protection must integrate with the selected shower receptor or pan assembly.
- Corners and seams: These need the treatment specified for the waterproofing system.
- Niches, benches, and curbs: Horizontal surfaces need appropriate slope toward the shower, with continuous protection through their corners.
- Plumbing openings and fasteners: Penetrations need compatible sealing details, including those added later for accessories.
Ask the installer to explain these connections before tile conceals them. Naming a membrane brand does not explain how the complete enclosure will be built.
Separate Surface Upkeep From a Concealed Leak
Discolored grout does not, by itself, prove the waterproofing has failed. Soap residue, cleaning practices, and lingering surface moisture can affect appearance. A damaged sealant joint may need maintenance without requiring a complete shower replacement.
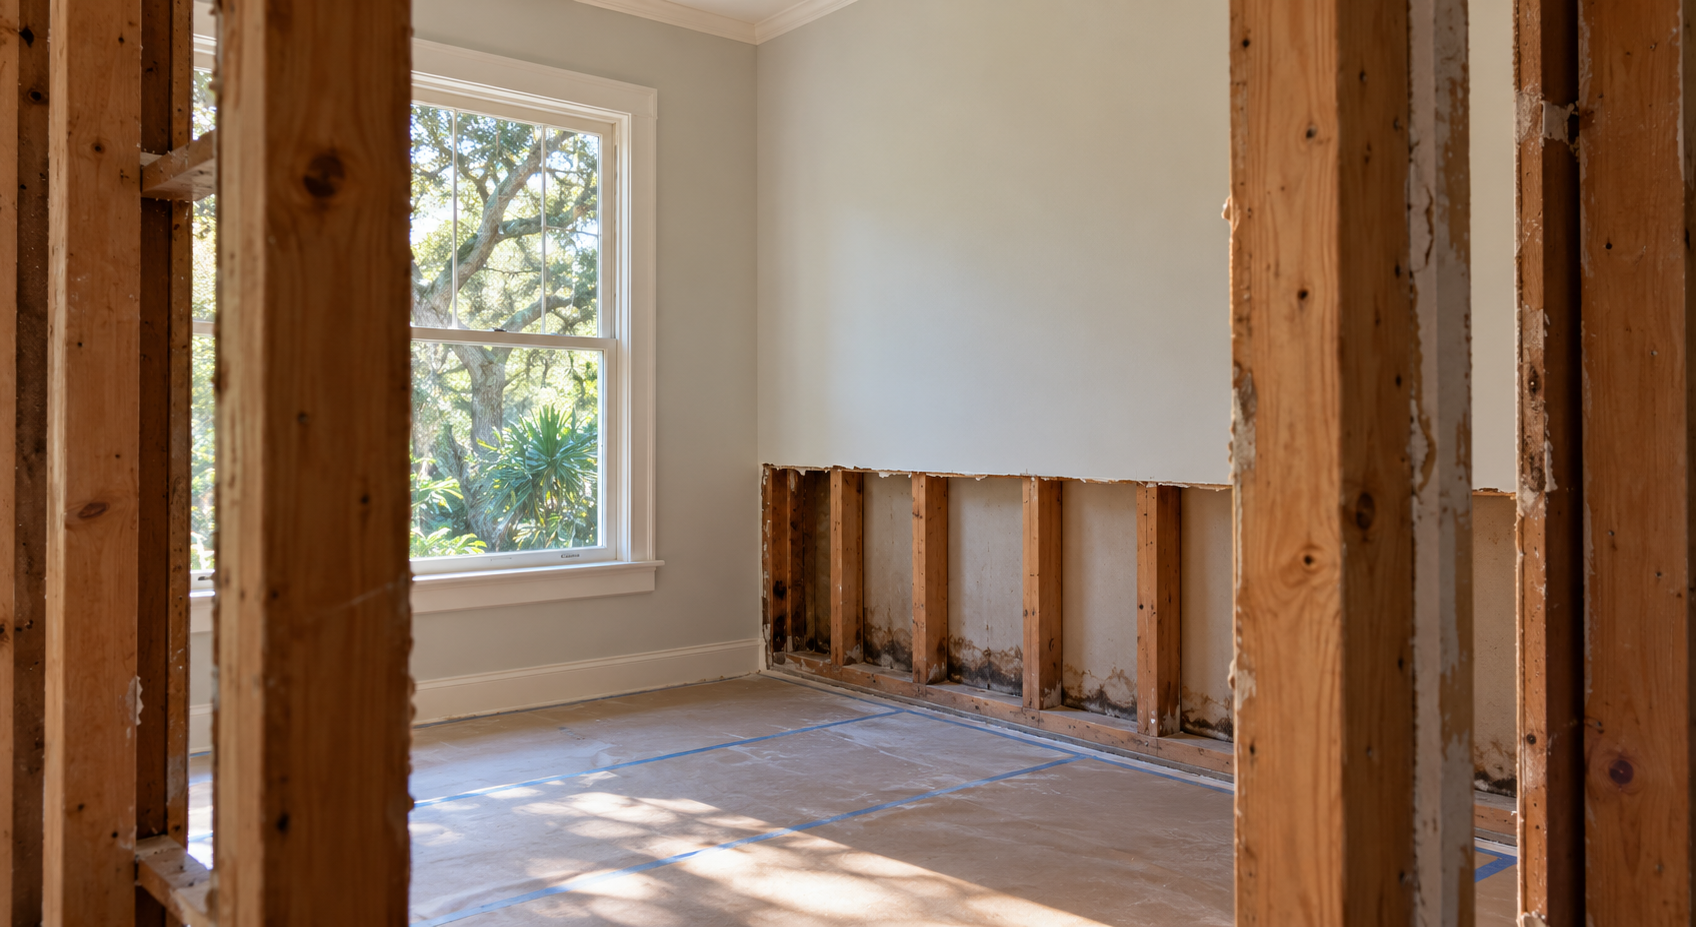
Conversely, repeated regrouting is a poor response to unexplained dampness outside the enclosure. Loose tiles, softened adjacent trim, recurring stains on the opposite wall, or water appearing below the shower warrant investigation. These signs identify a problem to evaluate, not its exact source. Plumbing leaks, escaping spray, and
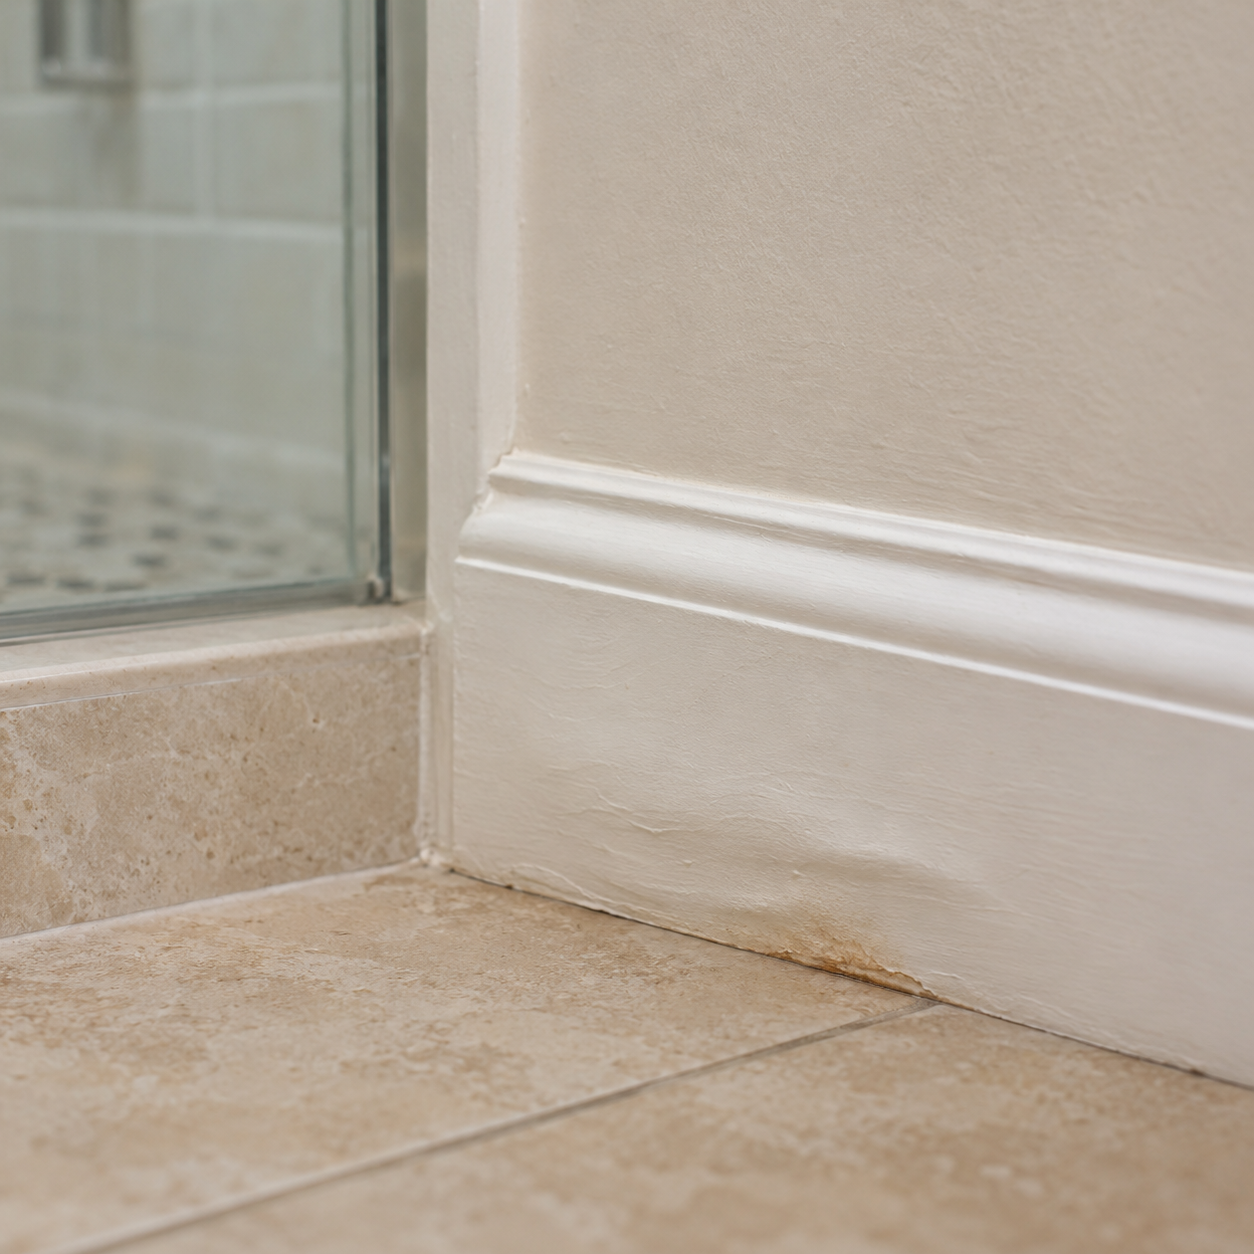
failures within the shower assembly can produce overlapping symptoms.
Ventilation addresses moisture in the room air; waterproofing manages water within the shower construction. Both deserve attention in a Lafayette bathroom, but improving ventilation does not reconnect a missing membrane or defective drain transition.
If shower use produces an active leak or spreading damage, stop using it until the cause is assessed. Record where moisture appears and when it occurs. Those observations are more useful than assuming every stain calls for more grout sealer.
Decide Whether a Repair Can Restore the Assembly
A localized repair makes sense only when the cause and repair boundaries are understood. Replacing a failed surface sealant joint is different from reconstructing missing waterproofing behind tile.
For a proposed tile patch, ask how the repair will connect to the existing protective layer. Removing tile can damage that layer, and limited access may leave insufficient room for the required connection. Matching the original tile does not resolve this problem.
A broader rebuild may be justified when the waterproofing cannot be identified, its continuity cannot be restored, or deteriorated backing needs removal. That decision should follow inspection rather than appearance alone.
Before approving demolition, agree on how concealed damage will affect scope and price. Clarify who authorizes additional backing or framing repairs and require written approval before those costs are incurred.
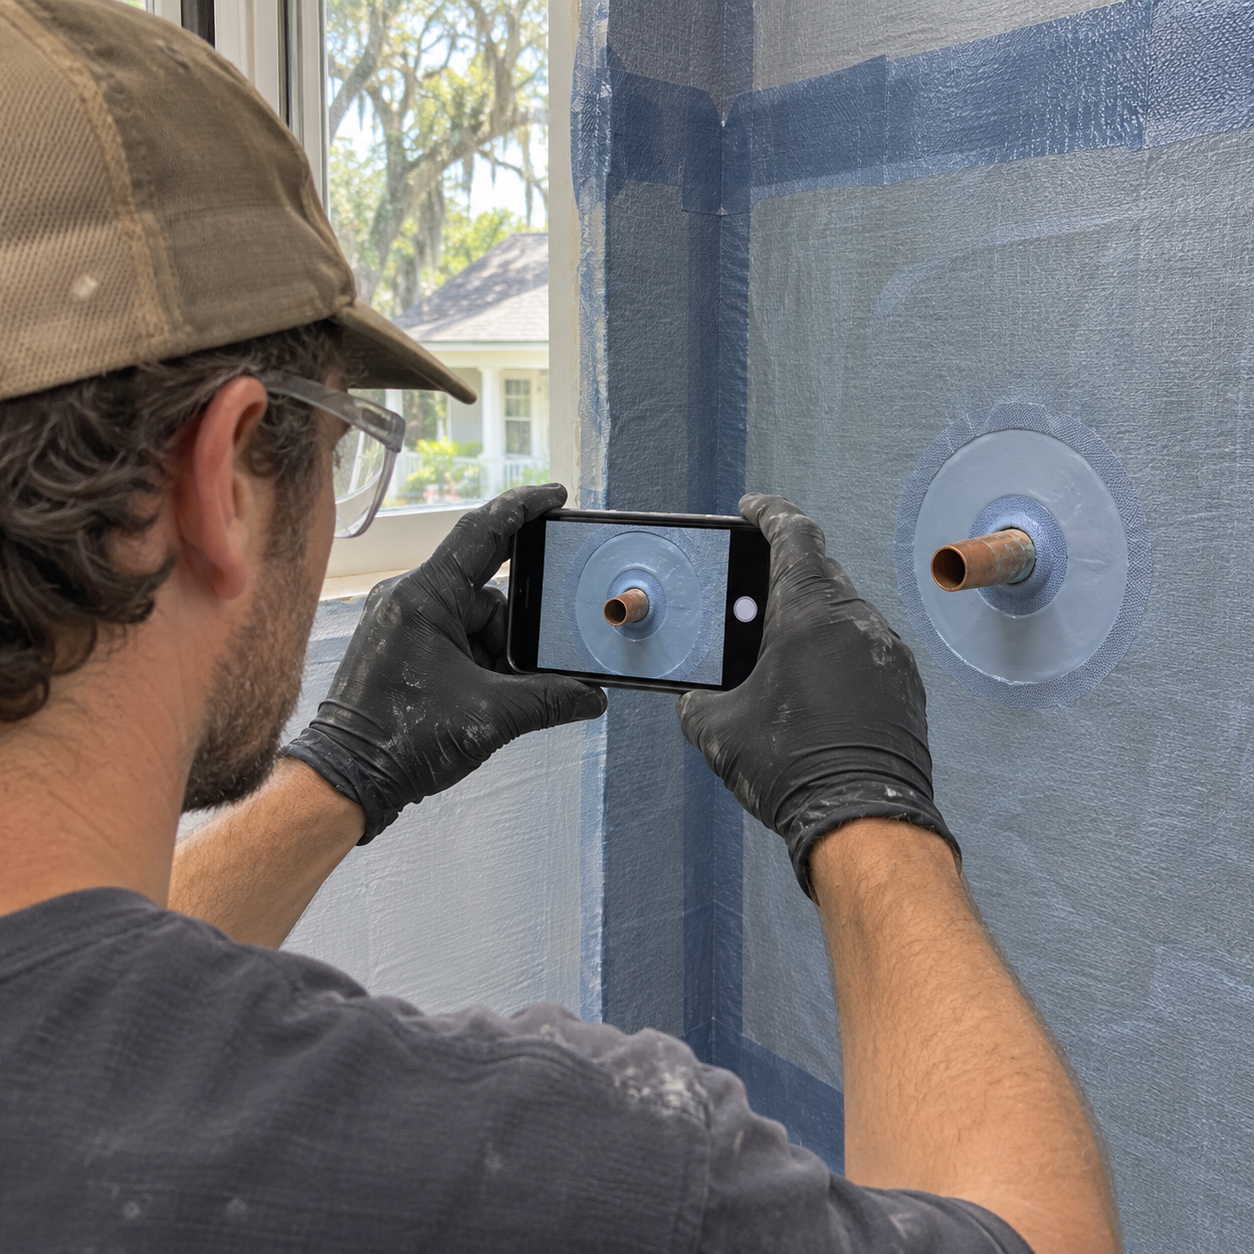
Make the Hidden Work Reviewable Before Tile
Request a written assembly description naming the backing, waterproofing products, shower base, and connection method. Ask which installation instructions govern the work and how substitutions will be evaluated.
Arrange a review point before tile installation. Photographs of completed seams, corners, niches, and plumbing openings provide a useful record, although photographs alone cannot certify performance.
Also confirm the planned water test, its timing, and how results will be documented. Follow the selected system's
Finally, establish who is responsible for sealing any later penetrations made during glass or accessory installation.
A sound shower decision starts beneath the finish. Maintain tile, grout, and sealant, but judge wall protection by the specified assembly, its connections, and the checks completed before those details disappear from view.

Written By:
Kurt Manalastas
Home & Property Research Journalist
Kurt is a Home & Property Research Journalist who creates educational content on home services, property improvements, and residential decision-making. He turns contractor insights, industry standards, and research findings into clear, practical guidance that helps homeowners better understand their options and make informed property decisions.